- Data Services
- Fraud Prevention
- Solutions
- Resources
- About Us
- Login
- Talk to an expert
- Try us for free

Help Center ❯ InstantData ❯ Integrations
AWeber customers have three options when it comes to using InstantData with their AWeber account: Email Validation, Email Intelligence, or both! Keep reading to learn how to import your AWeber list into InstantData for processing and export InstantData results back to AWeber.
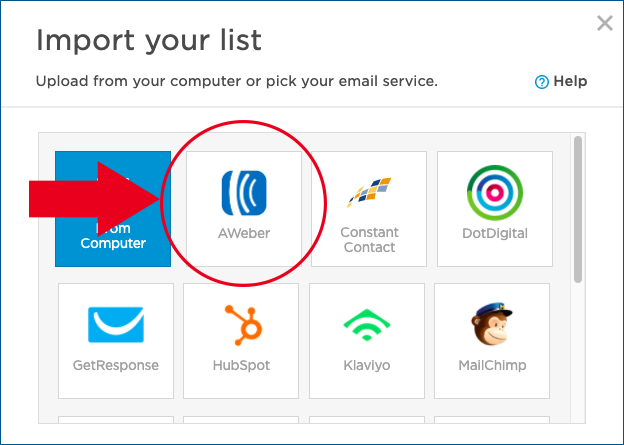
First, login to your InstantData account, then click the “Import List” button at the top right of the page. Select “AWeber” from the choices in the dropdown as shown below.
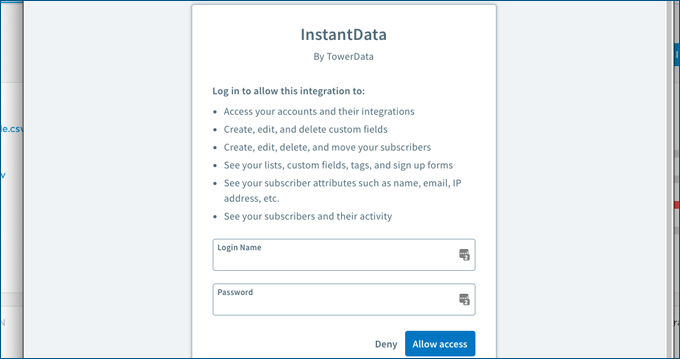
You’ll then be prompted for your AWeber account login information. This lets InstantData access your AWeber account. Simply add your login credentials and click the blue “Allow Access” button at the bottom of the pop-out window.
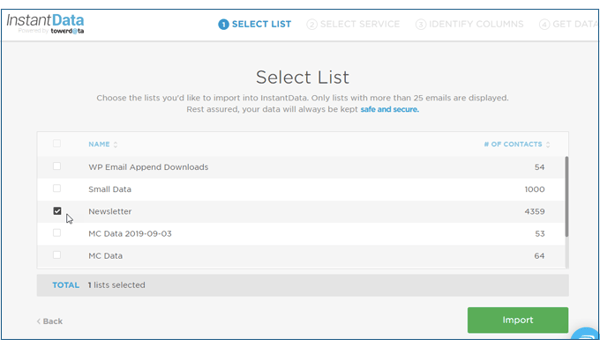
Once the connection occurs, you’ll be taken immediately to a screen that displays the lists in your AWeber account. Select one or more audiences that you want to either validate or enhance. Then click the green “Import” button.
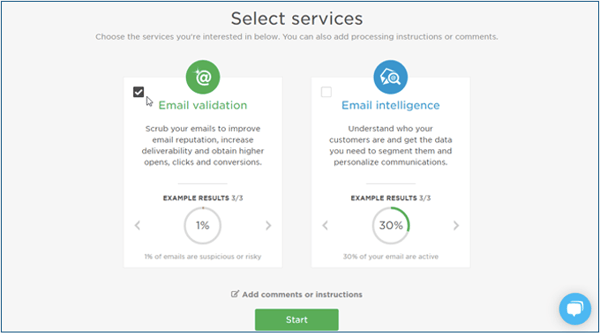
On the next screen, click the checkbox for each service you want to run. Once you’ve selected your services, click the green “Start” button at the bottom of the screen.
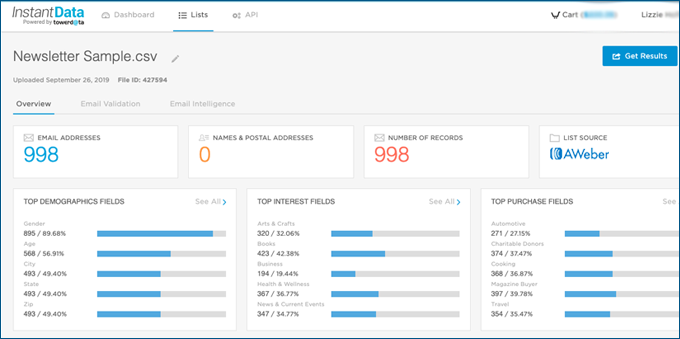
After your services finish, you can view the results on the List Overview page and purchase the data you need.
After purchasing data, it’s time to get your results and put them to use!
Start by clicking the blue “Get Results” button at the top right of the overview page for your list.
From here, you’ll see the below pop-up, allowing you to update your list immediately via export back to AWeber or download your results directly to your computer.
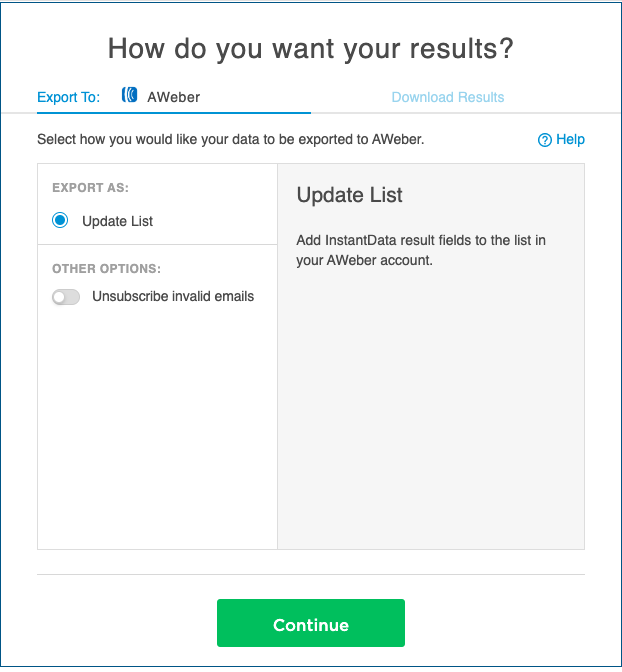
Note: When you choose to export your results immediately to AWeber, you only have the option to unsubscribe invalid emails via the integration. However, if you choose to download your results, you will have varying preset and custom options. You can learn more about these in our Email Validation Results Options page.
If you run Email Intelligence, you will be presented with the Email Intelligence options screen, regardless of the export options you select.
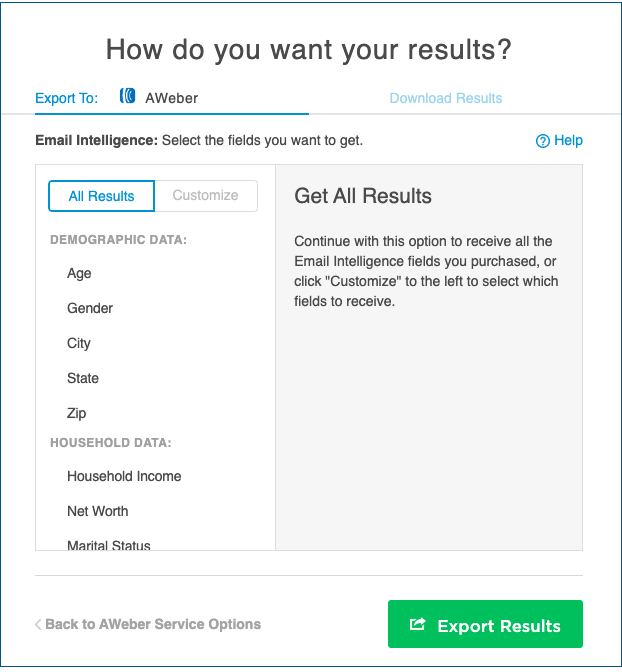
Here, you can either choose to download:
or
Curious about the data available? Learn more about our Email Intelligence result options.
To finish the process, click the green “Export Results” button. You’ll be taken to a progress screen as we send your data to AWeber or to your email. Depending on the size of your list, it may take a few minutes to complete.
You can either wait for the process to complete or we’ll send you an email to notify you when it’s done.
After the export completes, this is what your contact record will look like with InstantData fields in AWeber:
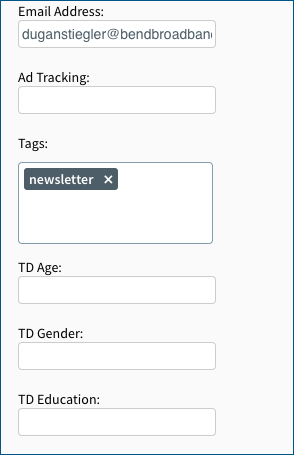
The fields created by InstantData will all start with the prefix “TD ” to avoid overwriting any existing fields you may have with the same name.
We hope you enjoy your data!